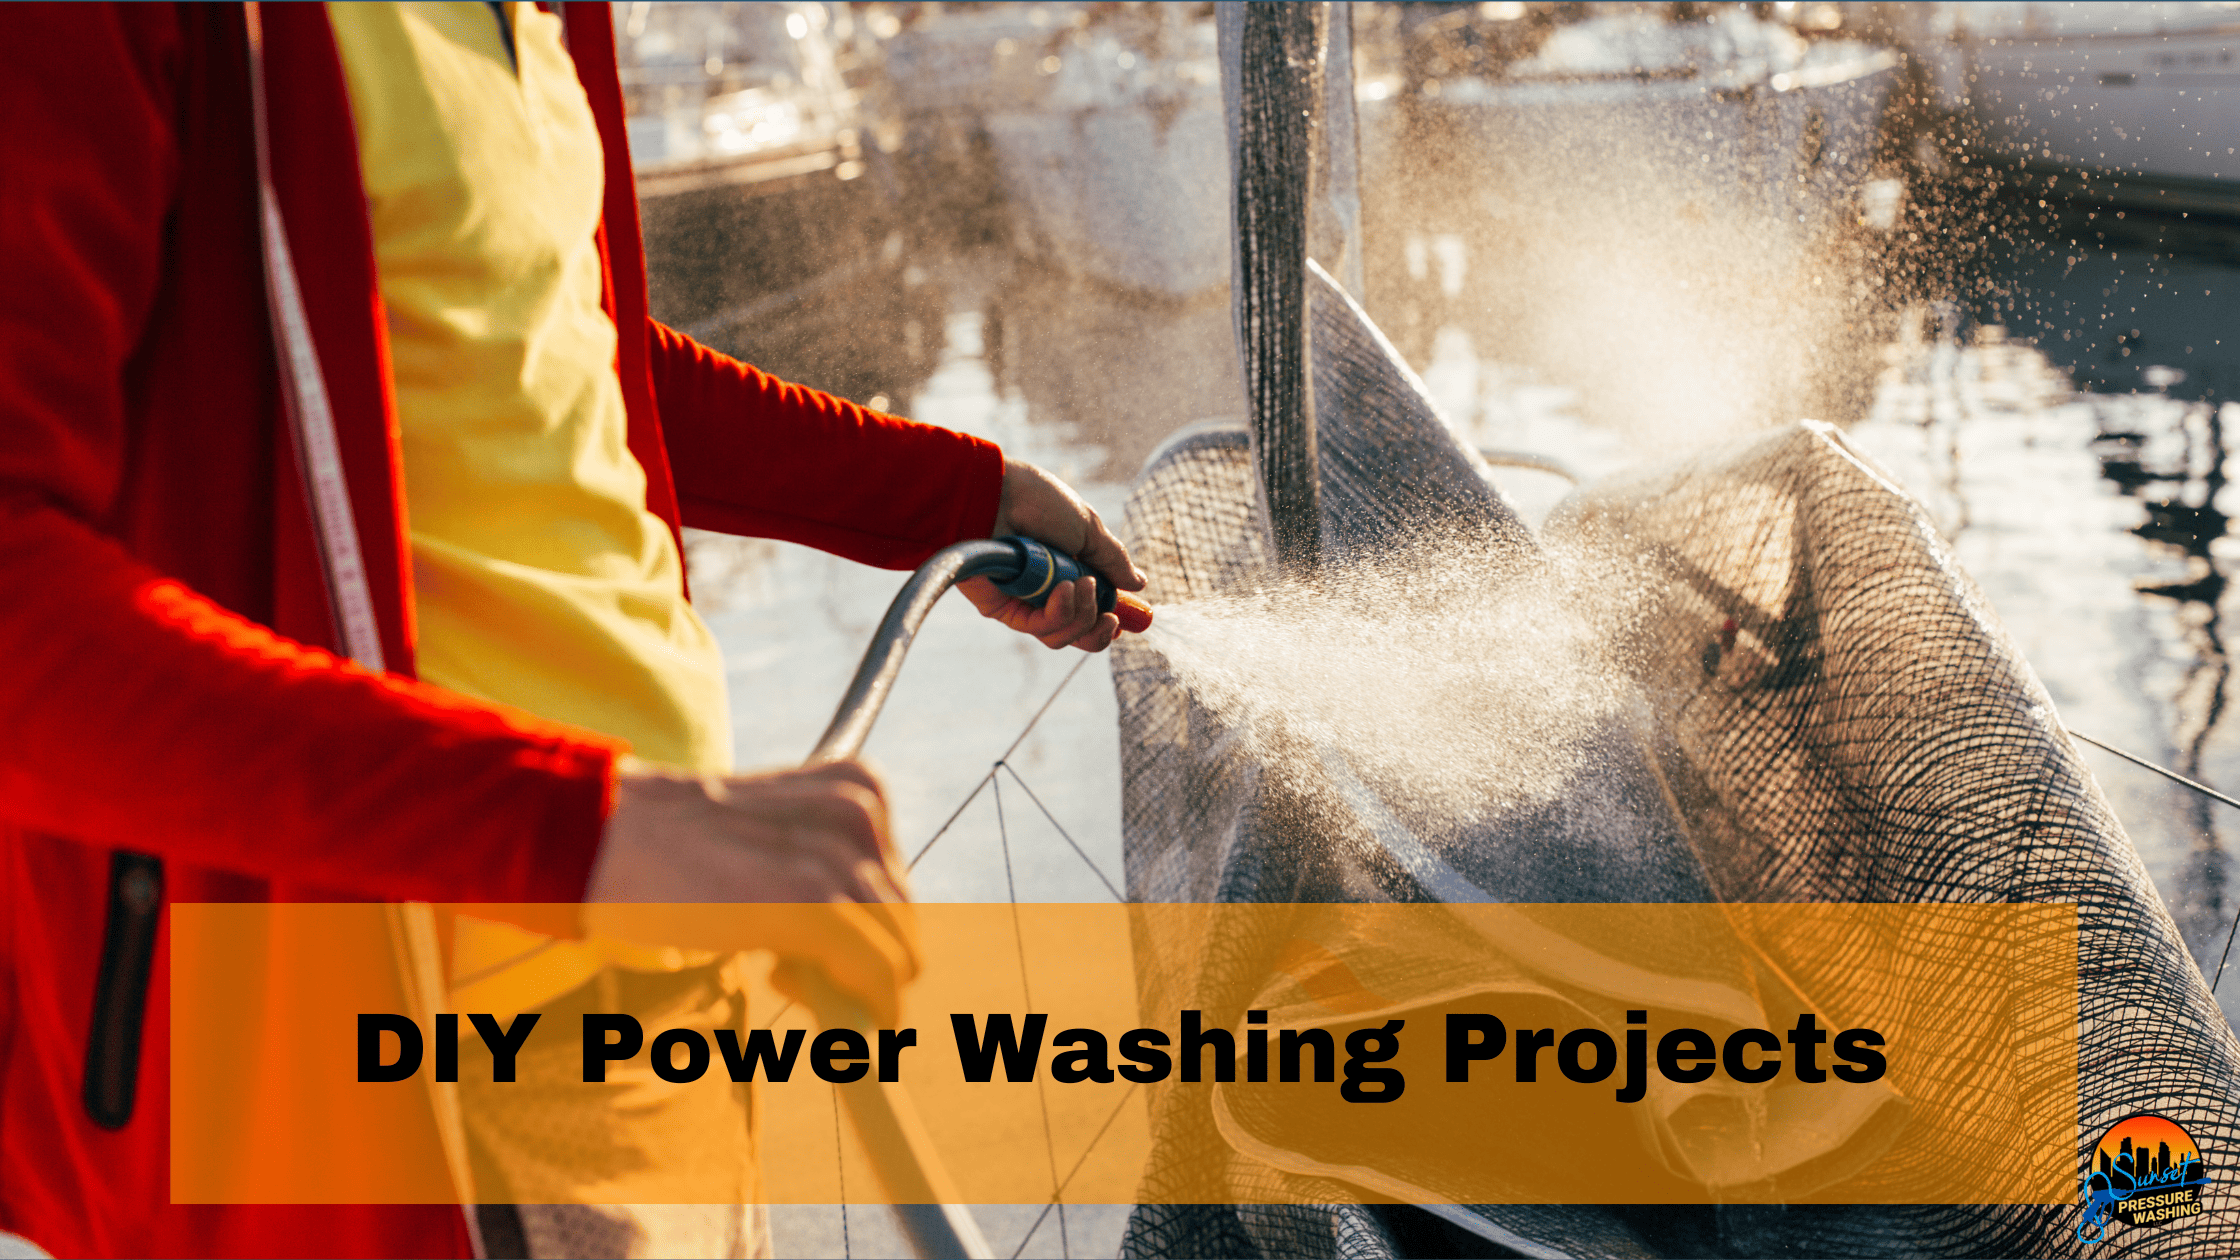
DIY Power Washing Projects
Welcome to the transformative world of DIY power washing! If you’ve ever marveled at the dramatic before-and-after photos of power washing projects and wondered if you could achieve the same results, you’re in the right place. Power washing, also known as pressure washing, is not just about blasting away dirt; it’s an art and science that can rejuvenate your home’s exterior, restoring its beauty and enhancing its curb appeal.
The secret behind every successful DIY power washing project lies in understanding the tools, techniques, and safety precautions required to tackle different surfaces around your home. From reviving a grayed-out deck to making your driveway look brand new, the potential projects are endless. Not only can power washing make your home look more inviting, but it can also increase its value and extend the life of your outdoor surfaces by removing harmful substances like mold, algae, and dirt buildup.
Understanding Your Power Washing Equipment
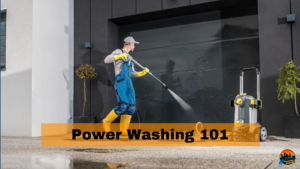
Embarking on a DIY power washing project begins with a crucial step: getting to know your equipment. Power washers, often referred to as pressure washers, come in various shapes and sizes, each suited to specific tasks around your home. Here’s a breakdown of what you need to know to select and safely operate your power washing gear.
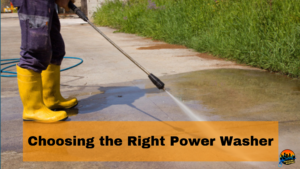
Electric vs. Gas-Powered Models
Power washers are generally categorized into two types: electric and gas-powered. Electric power washers are ideal for light to medium tasks, such as cleaning outdoor furniture, small decks, and vehicles. They’re quieter, more lightweight, and require less maintenance than their gas counterparts. Plus, they start with the push of a button, offering convenience and ease of use.
On the other hand, gas-powered power washers pack a more powerful punch, making them suitable for larger, more stubborn projects like cleaning large decks, driveways, and siding. We offer the mobility to work far from power outlets, but they’re louder, heavier, and emit exhaust fumes, thus requiring outdoor operation.
Understanding PSI and GPM
Two critical specifications to consider when choosing a power washer are the PSI (pounds per square inch) and GPM (gallons per minute). PSI measures the pressure output, which affects the washer’s ability to break dirt and grime. GPM, meanwhile, indicates the flow rate, influencing how quickly you can rinse debris away. Higher numbers mean more cleaning power, but also increase the risk of damaging surfaces if not handled correctly.
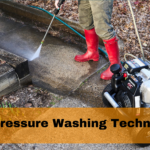
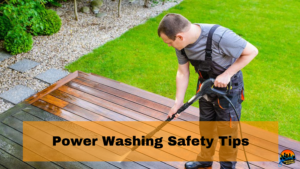
Safety First
Before you unleash the power of your washer, prioritizing safety is paramount. Power washers can cause serious injuries if misused. Always wear protective gear, including gloves, goggles, and closed-toe shoes, to protect against flying debris and high-pressure water streams. Additionally, never point the nozzle at yourself, others, or pets, and be mindful of electrical hazards when operating electric models.
Choosing the Right Nozzle
Power washers come with various nozzles, each designed for different cleaning tasks. These nozzles regulate the pressure and focus of the water stream. For instance, a 0-degree nozzle produces a concentrated jet for tough grime, while a wider-angle nozzle (like 40 degrees) is gentler, ideal for washing cars or rinsing off soap suds. Selecting the appropriate nozzle is crucial to avoid damaging the surfaces you’re cleaning.
Familiarizing yourself with your power washing equipment is the first step towards a successful DIY project. Whether you’re sprucing up your patio, driveway, or siding, understanding the capabilities and safety measures of your power washer ensures not only the effectiveness of your cleaning efforts but also the safety of you and your property. Remember, the power is literally in your hands, so wield it wisely and safely.
Preparing Your Area for Power Washing
Before you unleash the cleansing power of your power washer, preparing the area properly is crucial to ensure a smooth and safe cleaning process. This preparation not only protects your property and belongings but also maximizes the efficiency of your power washing project. Here’s how to get started:
Clear the Space
The first step is to remove any movable objects from the area you plan to wash. This includes outdoor furniture, potted plants, garden tools, and any decorative items. Not only does this prevent damage to these items, but it also gives you unobstructed access to the surfaces you need to clean. If there are immovable objects close by, consider covering them with waterproof tarps or plastic sheeting to protect them from water damage and detergent splashes.
Protect Your Plants and Lawn
Power washing detergents and chemicals, even those labeled as eco-friendly, can harm your plants and grass if not handled correctly. Before starting, water your plants thoroughly. This helps them absorb water, diluting the impact of any potentially harmful chemicals. After watering, cover them with a breathable material like burlap to allow air and light while providing protection from detergent overspray.
Safeguard Electrical Fixtures
Water and electricity are a dangerous combination. Ensure all outdoor electrical fixtures near your cleaning area are securely covered and protected. Use plastic bags and waterproof tape to shield outlets, lights, and power boxes. If possible, turn off the electricity to these outdoor fixtures at your breaker box to add an extra layer of safety.
Selecting the Right Detergent
Choosing the correct detergent is vital for effective cleaning and preserving the integrity of the surfaces you’re cleaning. Always opt for a cleaner suitable for the surface material and the type of dirt or stain you’re dealing with. For general cleaning, there are plenty of eco-friendly, biodegradable options that are tough on grime but gentle on the environment. Read labels carefully and follow the manufacturer’s dilution guidelines to ensure optimal results.
Plan Your Approach
Survey the area and plan your cleaning route. Start from the top of vertical surfaces and work your way down. This method prevents dirt and detergent from dripping over already cleaned areas, saving you time and effort. For large areas like driveways or patios, divide the space into manageable sections and clean one section at a time.
Test Your Equipment
Before you begin, do a quick test run of your power washer on a small, inconspicuous area to ensure it’s working correctly and that you’re comfortable handling it. Adjust the pressure settings according to the surface you’re cleaning to avoid damage.
By following these preparation steps, you’ll set the stage for a successful and efficient power washing project. Taking the time to prepare thoroughly means you can look forward to enjoying your clean, refreshed outdoor spaces with minimal hassle and maximum satisfaction.
DIY Power Washing Projects Around the House
Power washing isn’t just about keeping the exterior of your home looking its best; it’s about preservation and prolonging the life of various surfaces. Let’s dive into some DIY power washing projects you can tackle to rejuvenate different areas around your house. From the deck to the driveway, here’s how to get started:
Deck Revival
Your deck is an extension of your home’s living space, but it also bears the brunt of weather extremes. Over time, it can accumulate dirt, mold, and mildew, which not only looks unsightly but can also cause the wood to deteriorate.
- Step 1: Preparation – Start by removing all furniture, grills, and pots. Sweep the deck to remove loose dirt and leaves.
- Step 2: Choose the Right Setting – Use a fan tip on your power washer and set it to a moderate pressure to avoid damaging the wood.
- Step 3: Washing – Begin washing from the house outward to ensure you don’t tread on wet areas. Maintain a consistent distance from the surface and use sweeping motions to cover the area evenly.
- Step 4: Drying and Sealing – Allow the deck to dry completely, which might take a couple of days. Consider applying a sealant to protect the wood from moisture and UV damage, ensuring your deck remains in top condition for years.
Siding Makeover
Your home’s siding is like its skin, and keeping it clean not only boosts curb appeal but can also extend its lifespan. Whether you have vinyl, wood, or brick siding, a gentle approach is key.
- Step 1: Soap Application – Begin with a low-pressure nozzle to apply a detergent solution, working in sections from the bottom up to avoid streaking.
- Step 2: Gentle Washing – Switch to a higher pressure setting suitable for your siding material. Always spray at a downward angle to prevent water from getting behind the siding.
- Step 3: Rinsing – Rinse the detergent off, moving from top to bottom, ensuring all soap is washed away to prevent residue build-up.
Driveway Renewal
A clean driveway can dramatically improve your home’s appearance and reduce the risk of slips from algae or moss growth. Concrete and asphalt can handle higher pressure, but care is still needed.
- Step 1: Stain Treatment – Pretreat oil stains and grease spots with a degreaser. Let it sit for several minutes to penetrate the stain before washing.
- Step 2: Surface Cleaning – Attach a surface cleaner accessory to your power washer for an even and efficient clean. This tool can save time and ensure a uniform clean across the entire driveway.
- Step 3: High-Pressure Rinse – For stubborn areas, use a high-pressure nozzle to remove any remaining dirt. Be cautious to keep the nozzle moving to prevent etching the concrete.
Each of these projects can make a significant impact on the appearance and preservation of your home. Always start with the manufacturer’s instructions for your power washer to ensure you’re using the correct settings for the job. Remember, the goal is to clean and protect your home, not to cause damage, so take your time and choose the right tools and settings for each task.
Advanced Power Washing Projects
Diving into the realm of power washing can be incredibly satisfying, especially when you see the dramatic transformations that can be achieved with a bit of know-how and the right equipment. After you’ve mastered the basics, it’s time to tackle some advanced projects that can not only rejuvenate the appearance of your home but also protect and extend the life of various outdoor elements. Here are some advanced DIY power washing projects to consider:
Fence Facelift
Fences, whether wooden, vinyl, or metal, are constantly exposed to the elements, leading to buildup of dirt, mold, and algae that can detract from their appearance and integrity. To restore your fence:
- Inspect and Repair: Before starting, inspect your fence for any damage or areas that may need repair.
- Choose the Right Nozzle and Pressure: Use a wider angle nozzle (at least 15 to 25 degrees) to avoid damaging the fence. Start with a lower pressure, increasing it only as needed.
- Apply Detergent: If dealing with stubborn grime or mildew, apply a detergent first, letting it sit for 10-15 minutes to loosen the buildup.
- Power Wash: Wash from top to bottom, maintaining a consistent distance to ensure even cleaning. Overlap each stroke slightly to avoid streaks.
- Rinse and Dry: Thoroughly rinse off the detergent with clean water and allow the fence to dry completely.
Patio Perfection
Patios can become grimy and stained, particularly in shady or damp areas. Restoring your patio requires a bit of care to avoid damaging the surface:
- Remove Furniture and Debris: Clear the patio area to ensure a uniform cleaning process.
- Select the Correct Pressure: Use a medium pressure setting to avoid displacing sand between pavers or damaging the surface.
- Spot Treatment for Stains: Apply a cleaner suitable for your patio type (concrete, pavers, stone) directly on stains, following product instructions.
- Sweep Across the Surface: Move the washer in a sweeping motion, keeping the nozzle about 12 inches from the surface, adjusting based on the material’s sensitivity.
- Rinse and Check: After washing, rinse the area thoroughly. Check for any missed spots or areas that may need a second pass.
Restoring Outdoor Furniture
Outdoor furniture can greatly benefit from a thorough cleaning:
- Choose a Mild Setting: Start with the lowest pressure setting to avoid damaging the furniture.
- Use Appropriate Cleaners: Apply a cleaner designed for the furniture’s material, whether it’s wood, metal, or plastic.
- Gentle Washing: Clean with gentle, sweeping motions, paying extra attention to areas with mildew or stains.
- Rinse and Dry: Rinse the furniture thoroughly and let it dry in the sun.
Cleaning Gutters and Downspouts
Clogged or dirty gutters can lead to water damage and are often overlooked:
- Safety First: Use a stable ladder and consider wearing a harness for added safety.
- Remove Debris: Start by removing leaves and debris by hand or with a gutter scoop.
- Flush with Low Pressure: Using a low-pressure setting, flush the gutters and downspouts to remove any remaining debris.
- Inspect for Damage: Check for any signs of damage or wear that may need repair.
Each of these projects can significantly impact the aesthetic and functional aspects of your home. However, it’s essential to approach each task with care, considering the specific needs of the material you’re cleaning to avoid damage. With the right approach, power washing can be a powerful tool in your home maintenance arsenal.
The Do's and Don'ts of Power Washing
Power washing can transform the exterior of your home, making it look new and well-maintained. However, to ensure a successful and safe cleaning, it’s essential to follow some key guidelines. Here are the do’s and don’ts of power washing:
Do's:
- Do wear protective gear: Always wear goggles, gloves, and non-slip shoes to protect yourself from the high-pressure spray and any flying debris.
- Do test the pressure setting on a small, inconspicuous area first: Before you start, it’s crucial to test the washer on a small, hidden area to ensure the pressure isn’t too high, which could damage the surface.
- Do use the right nozzles and settings: Different nozzles are designed for various cleaning tasks. Use a wider spray nozzle for delicate surfaces to reduce the pressure and prevent damage.
- Do keep a consistent distance: Maintain a consistent distance between the nozzle and the surface you’re cleaning to ensure even cleaning and to avoid streaks or marks.
- Do pre-treat tough stains: For areas with tough stains, pre-treat with a detergent or specialized cleaner. Let it sit for a few minutes to break down the dirt and grime for easier removal.
Don'ts
- Don’t rush the job: Power washing can be satisfying, but rushing can lead to uneven cleaning and missed spots. Take your time to move systematically across surfaces.
- Don’t ignore the weather: Avoid power washing on windy days when the spray could be unpredictable, and don’t wash during extreme colds that could risk water freezing and damaging surfaces.
- Don’t power wash delicate surfaces: Avoid using a power washer on delicate surfaces like old wood, windows, or painted surfaces that could easily be damaged by high pressure.
- Don’t neglect safety warnings: Never point the power washer at people, pets, or electrical outlets. The high-pressure spray can cause serious injuries and damage.
- Don’t use too much pressure on masonry: When cleaning brick, concrete, or other masonry, too much pressure can remove the surface layer, leading to damage. Use a lower pressure setting and a wider nozzle.
By adhering to these do’s and don’ts, you can safely and effectively use your power washer to beautify and maintain your home’s exterior. Remember, the key to successful power washing lies in preparation, patience, and respecting the power of the machine.
Troubleshooting Common Power Washing Issues
Power washing can be an incredibly satisfying DIY project, but like any home maintenance task, it can come with its set of challenges. Here are some common issues you might encounter while power washing and tips on how to troubleshoot them effectively:
Uneven Cleaning Patterns
- Cause: Often results from inconsistent pressure, moving the washer too quickly, or using an incorrect nozzle.
- Solution: Ensure you’re using the right nozzle for the job and maintain a steady pace. Keep the nozzle at a consistent distance from the surface. If the problem persists, check your equipment for any clogs or damage.
Low Pressure
- Cause: Can be due to a clogged nozzle, a leak in the hose, insufficient water supply, or a malfunctioning pump.
- Solution: Check and clean the nozzle with a needle. Inspect the hose for any leaks or kinks and ensure your water supply is adequate. If the pump is the issue, it may need professional servicing.
Machine Starts and Stops
- Cause: This could be a sign of an overheated engine (for gas-powered models) or electrical issues (for electric models).
- Solution: For gas-powered washers, let the engine cool down before attempting to restart. For electric models, check your power source and ensure the machine is plugged into a working outlet. Reset any tripped circuit breakers.
Water Leaks from the Pump
- Cause: Leaks can occur due to worn-out seals or loose connections.
- Solution: Tighten all connections and inspect the seals for wear. Replacing the seals or consulting a professional might be necessary if the leak continues.
Stubborn Stains Remain
- Cause: Some stains require pre-treatment or specific detergents to break down effectively.
- Solution: Pre-treat the area with a detergent designed for the type of stain you’re dealing with. Let the detergent sit for the recommended time before power washing. For extremely stubborn stains, a second application or a stronger cleaning agent might be necessary.
Power Washer Won’t Start
- Cause: For gas-powered models, this could be due to old fuel, a dirty carburetor, or spark plug issues. Electric models might not start due to a faulty outlet, extension cord, or internal motor issues.
- Solution: For gas models, check the fuel and replace it if it’s old. Clean the carburetor and spark plugs as needed. For electric models, check your power source, try a different outlet, and ensure you’re not using an overly long extension cord that could reduce power. If these steps don’t work, the motor may need professional attention.
Addressing these common issues can help ensure your power washing projects are successful and satisfying. Regular maintenance of your power washer and a bit of troubleshooting knowledge can save you time and money, making your DIY endeavors all the more rewarding.
Maintaining Your Power Washer
To ensure your power washer remains a reliable tool for your DIY projects year after year, proper maintenance is key. Here are essential tips to keep your power washer in top shape:
Routine Inspection
- Before Each Use: Check for any leaks in the hoses, ensure connections are secure, and inspect the washer for any signs of wear or damage. Regular inspection can prevent minor issues from becoming major problems.
- Nozzle Care: Clean the nozzles to remove any debris or buildup that could obstruct water flow. A pin or needle can be used to clear out any blockages.
Proper Cleaning
- After Use Cleaning: Always flush the system with clean water after use, especially if you’ve used detergents. This helps to remove any residue from the machine and prevents corrosion or buildup.
- External Cleaning: Wipe down the exterior of the power washer to remove dirt, grime, and other residues. Keeping the machine clean can prevent rust and prolong its lifespan.
Storage Solutions
- Winterizing: If you live in a region with cold winters, it’s crucial to winterize your power washer to prevent freezing damage. Use antifreeze in the pump and store the machine in a frost-free location.
- Proper Storage: Store your power washer in a dry, clean area away from harsh weather conditions. Keeping it covered will protect it from dust and moisture.
Regular Maintenance Checks
- Hose Integrity: Regularly check hoses for cracks, leaks, or brittleness. Replace damaged hoses promptly to avoid high-pressure water leaks.
- Seals and O-Rings: Inspect and replace any worn seals or O-rings. These small parts are crucial for maintaining high pressure and preventing leaks.
Lubrication
- Engine and Pump: For gas-powered models, check the engine oil and pump lubrication regularly. Follow the manufacturer’s guidelines for oil type and change intervals.
- Moving Parts: Lubricate any moving parts periodically to ensure smooth operation. Use a silicone-based lubricant to protect against rust and wear.
Professional Servicing
Annual Check-Up: Consider having your power washer professionally serviced once a year. A professional can perform a thorough inspection and tune-up, which can include checking the engine, pump, and electrical connections.
User Manual Guidance
Follow Manufacturer Recommendations: Always refer to your power washer’s user manual for specific maintenance guidelines. Manufacturers often provide detailed instructions tailored to your model’s needs.
By following these maintenance tips, you can extend the life of your power washer, ensuring it’s ready for your next DIY cleaning project. Remember, a little care goes a long way in preserving the efficiency and effectiveness of your power washing equipment.
Transform Your Home with Sunset Pressure Wash
As we’ve explored the transformative power of DIY power washing projects, it’s clear how this simple yet effective method can rejuvenate your home’s exterior, enhance curb appeal, and even potentially increase the value of your property. Whether it’s reviving your deck, giving your siding a makeover, or renewing your driveway, the satisfaction of completing these projects on your own is immensely rewarding. However, certain tasks may require a professional touch to ensure the best results while preserving the integrity of your home’s surfaces.
This is where Sunset Pressure Wash steps in. Offering a comprehensive range of pressure washing services, we’re here to assist you with those projects that might be a bit too challenging or require specialized equipment. From residential to commercial properties, our expert team is equipped to handle all your power washing needs, ensuring top-notch quality and customer satisfaction.
Ready to see the difference professional power washing can make? Contact us today and let’s get started on transforming your property. Remember, a clean home or business is not only a happy one but also a reflection of your pride and commitment to excellence.