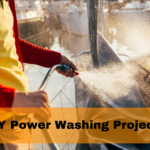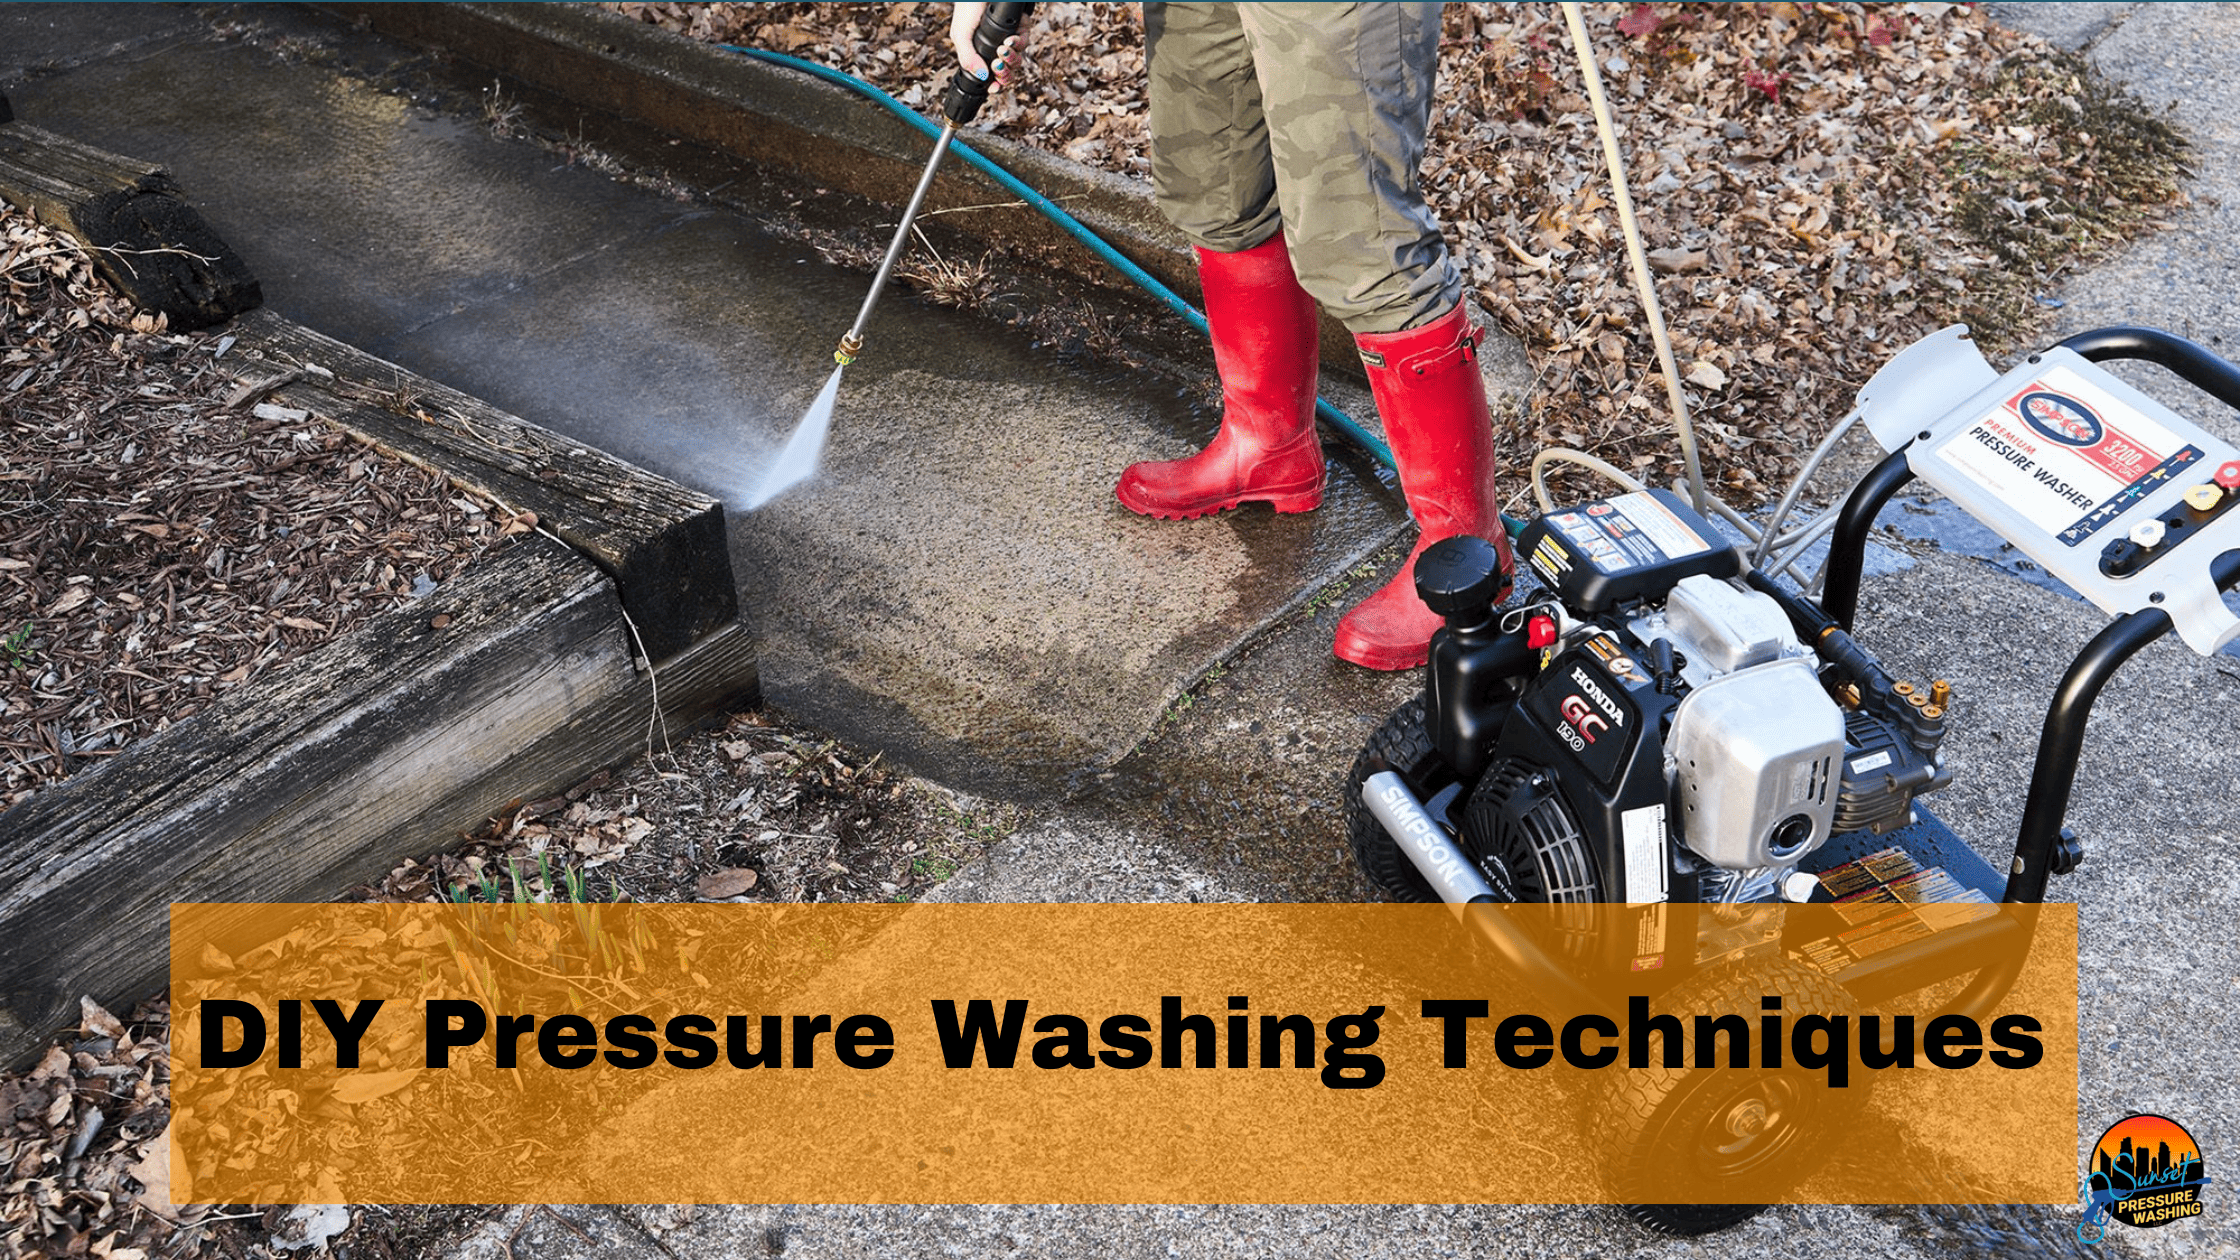
DIY Pressure Washing Techniques
Maintaining the pristine appearance of your home’s exterior isn’t just about curb appeal—it’s also about preserving the value and integrity of your property. Over time, dirt, grime, and algae can accumulate on surfaces, diminishing their appearance and potentially causing damage. This is where the power of pressure washing shines, offering a satisfying solution to restore your home’s exterior to its former glory. However, diving into DIY pressure washing can be daunting without the right knowledge and tools.
In this comprehensive guide, we’ll unlock the secrets of effective DIY pressure washing techniques. From understanding the intricacies of pressure washing equipment to mastering the art of cleaning various surfaces around your home, we aim to equip you with the knowledge you need to undertake this task with confidence. Whether you’re looking to rejuvenate your driveway, refresh your siding, or give your deck a new lease on life, our step-by-step guide will help you achieve professional-quality results while ensuring safety and efficiency. So, roll up your sleeves and prepare to transform the look of your home with the power of pressure washing.
Understanding Pressure Washing Equipment
Before diving into the world of DIY pressure washing, it’s crucial to get acquainted with the equipment you’ll be using. A pressure washer is a powerful tool that can clean a wide range of surfaces around your home, but using it requires a basic understanding of its components and the types available.
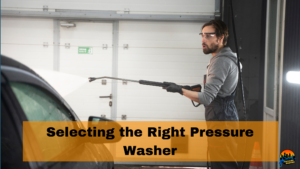
Types of Pressure Washers
There are primarily two types of pressure washers: electric and gas-powered. Electric pressure washers are generally lighter, quieter, and ideal for light to moderate cleaning tasks, such as washing cars, outdoor furniture, and small patios. They’re convenient for residential use due to their ease of maintenance and operation. On the other hand, gas-powered pressure washers offer more power and mobility, making them suitable for heavy-duty tasks like cleaning large driveways, siding, and stripping paint. However, they’re louder, emit exhaust fumes, and require more maintenance.
Key Components and Ratings
Understanding the key specifications of a pressure washer is essential to choosing the right one for your needs:
- PSI (Pounds per Square Inch): This measures the pressure output by the washer. Higher PSI ratings mean the washer can handle tougher cleaning jobs. Residential models typically range from 1,300 to 2,800 PSI, suitable for most home projects.
- GPM (Gallons Per Minute): This indicates the flow rate of water. A higher GPM means the washer can clean larger areas more quickly.
- Nozzles: Pressure washers come with various nozzles that adjust the water stream intensity. For instance, a 0-degree nozzle produces a narrow, powerful stream for tough grime, while a 40-degree nozzle offers a wider, gentler spray for delicate surfaces.
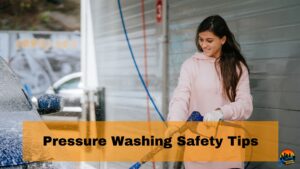
Preparing Your Space for Pressure Washing
Before commencing any commercial pressure washing activity, conducting thorough pre-operation safety checks is crucial. These checks are designed to ensure that the equipment is in optimal condition, thereby minimizing the risk of accidents and enhancing operational efficiency. Here’s a detailed look at the necessary steps:
Clear the Area:
Begin by removing furniture, planters, and any movable objects from the space you plan to wash. For items that cannot be moved, such as heavy outdoor fixtures or electrical boxes, cover them with waterproof tarps or plastic sheeting to protect against water damage.
Protect Your Plants:
If you’re working near a garden or landscaped area, cover plants, shrubs, and flowers with tarps or burlap sacks to shield them from the high pressure and any cleaning chemicals you might use. This is especially important if you’re using a chemical cleaner that could harm plant life.
Close Windows and Doors:
Ensure all windows and doors are tightly closed to prevent water from entering your home. Pay special attention to any cracks, holes, or openings where water might seep through.
Secure Loose Siding or Panels:
Walk around the area you’ll be cleaning and secure any loose pieces of siding, shingles, or panels. The high-pressure water can worsen any existing damage or cause new issues if not properly secured.
Prep the Surface:
Brush off any loose dirt, debris, or cobwebs from the surfaces you’ll be cleaning. This helps the water and any cleaning solutions work more effectively.
Safety First:
Wear protective gear before starting your pressure washing project. This includes safety goggles to protect your eyes from flying debris, durable gloves to protect your hands, and ear protection if you’re using a gas-powered pressure washer. It’s also wise to wear closed-toe shoes or boots to protect your feet.
Check Your Equipment:
Before you begin, make sure your pressure washer is in good working order. Check the hoses for any leaks or wear and ensure all connections are secure. If you’re using a gas-powered model, check the engine oil and fuel levels.
Choosing the Right Cleaning Solutions
When undertaking a DIY pressure washing project, selecting the appropriate cleaning solutions is as crucial as mastering the technique itself. Not all dirt is created equal, and different surfaces require different cleaning agents to achieve optimal results without causing damage. Below, we outline how to choose and use the right cleaning solutions for your pressure washing needs, including eco-friendly options for those conscious of their environmental impact.
Understand the Surface Material
The first step in choosing your cleaning solution is to identify the material of the surface you’re cleaning. Different materials—whether it’s concrete, wood, vinyl siding, or vehicle exteriors—respond better to specific cleaning agents. For example, a solution that works wonders on concrete might be too harsh for your car’s paint job.
Chemical Cleaners vs. Eco-Friendly Solutions
While there are myriad chemical cleaning solutions available on the market, many homeowners prefer eco-friendly alternatives that are less harsh on the environment and safer for families and pets.
- For Hard Surfaces: For tough stains on concrete or brick, consider a solution made from water and powdered laundry detergent or a mix of water and white vinegar for lighter stains. This mixture is effective in removing grease and mildew without the harsh effects of chemical cleaners.
- For Wood: When cleaning wooden decks or furniture, a solution of oxygen bleach (not chlorine bleach, which can strip wood of its natural color) is effective in removing mildew and graying caused by sun exposure, while being gentle on the wood itself.
- For Vinyl Siding: A mixture of 70% water and 30% white vinegar makes an excellent all-around cleaning solution that can tackle mildew and dirt buildup on vinyl siding without the risk of damaging it.
Application Tips
Creating your own cleaning solutions not only saves money but also reduces the chemical impact on your surroundings. Here are two simple recipes you can try:
- General Purpose Cleaner: Mix 1 gallon of water with 1/3 cup of laundry detergent powder until it dissolves. This solution works well for a variety of surfaces, from patios to outdoor furniture.
- Mildew Remover: Combine 1 quart of water with 1 quart of bleach and 1/4 cup of a mild dishwashing liquid. This powerful mix can remove stubborn mildew but should be used with caution, ensuring proper protective gear is worn.
DIY Cleaning Solutions
- Test First: Always test your chosen solution on a small, inconspicuous area of the surface to ensure it doesn’t cause discoloration or damage.
- Use the Right Amount: More soap doesn’t necessarily mean more clean. Use the recommended amount of cleaning solution to avoid residue buildup, which can attract more dirt over time.
- Rinse Thoroughly: After applying and scrubbing the surface with your cleaning solution, make sure to rinse it thoroughly with plain water to remove any soap residue.
Pressure Washing Techniques for Different Surfaces
When it comes to DIY pressure washing, one size does not fit all. Different surfaces require unique approaches to avoid damage while ensuring they are thoroughly cleaned. Here’s how to tackle various materials around your home with your pressure washer:
Concrete Driveways and Walkways
Concrete is resilient, but it can accumulate a lot of grime. Use a high-pressure setting with a 15 to 25-degree nozzle to effectively clean these areas. Begin by wetting the concrete with water, then apply a detergent from a distance of about 12 inches. Allow the cleaning solution to sit for 5-10 minutes (avoid letting it dry) before rinsing it off with a sweeping motion to prevent streaks. For stubborn stains, a surface cleaner attachment can provide a uniform clean.
Wood Decks and Furniture
Wood requires a gentle touch. Use a low-pressure setting and a wider, 40-degree nozzle to prevent damage. Start by applying a wood-safe cleaner to protect the material and enhance cleaning. When rinsing, maintain a consistent distance and use sweeping motions, keeping the spray parallel to the wood grain to avoid splintering. Allow the wood to dry completely before applying any sealants or stains.
Vinyl Siding
Vinyl siding can be easily damaged by high pressure, so it’s crucial to use a low to medium setting. Start with a 40-degree nozzle and test a small area to ensure no damage occurs. Apply a detergent designed for siding, working from the bottom up to avoid streaks. Rinse from the top down, ensuring all cleaner and debris are thoroughly washed away. Be cautious around windows and doors to prevent water infiltration.
Vehicles
Cars, trucks, and boats can benefit from a good pressure washing, but paint and decals are sensitive to high pressure. Use a low-pressure setting with a soap nozzle to apply a vehicle-safe detergent. Rinse with a 40-degree nozzle, keeping the spray at least 24 inches away from the surface to avoid damage. Always wash vehicles in a shaded area to prevent water spots from sun drying.
Tips for All Surfaces
- Always begin with the lowest pressure setting and increase as needed to avoid damage.
- Test the pressure on an inconspicuous area before starting.
- Keep the nozzle moving to prevent concentrated water pressure from damaging the surface.
- Wear protective gear, including safety glasses and gloves, during operation.
Common Pressure Washing Mistakes to Avoid
Pressure washing can dramatically improve the appearance of your home and outdoor spaces, but it’s not without its pitfalls. Many enthusiastic DIYers dive into pressure washing projects without fully understanding the nuances, leading to common mistakes that can damage property or even cause personal injury. To ensure you achieve the best results without the downsides, here are several pressure washing mistakes you should avoid:
Starting with Too High Pressure
One of the most common mistakes is using a pressure setting that is too high for the surface being cleaned. High pressure can etch concrete, strip paint, or splinter wood. Always start with a lower pressure and gradually increase it as needed.
Ignoring the Importance of Test Spots
Before fully committing to cleaning a large area, it’s wise to test a small, inconspicuous spot. This allows you to see how the surface reacts to the pressure washer and adjust your technique accordingly.
Overlooking the Right Nozzle Selection
Different nozzles have different spray patterns and pressures. Using the wrong nozzle can either lead to ineffective cleaning or damage to the surface. Ensure you’re familiar with nozzle types and their appropriate uses.
Neglecting Safety Precautions
Pressure washers can cause serious injuries if not handled correctly. Failing to wear protective eyewear, gloves, and closed-toe shoes can leave you vulnerable to flying debris and the high-pressure stream itself.
Washing Out of Order
Starting at the wrong part of a surface can lead to uneven cleaning or more work for yourself. Always wash from the top down to ensure that dirt and soap don’t drip over clean areas.
Using Too Much Pressure on Windows
Windows require a gentle touch. Too much pressure can break the glass or damage seals. It’s often better to use a low-pressure setting or clean windows by hand.
Forgetting to Secure Surrounding Areas
Failure to move or cover outdoor furniture, vehicles, and delicate plants can result in damage. Water and cleaning solutions can also seep into open windows or doors, so it’s crucial to secure these areas before starting.
Letting the Cleaning Solution Dry
Applying detergent and not rinsing it off before it dries can leave residue or stains. Always keep the surface wet while working and rinse thoroughly after applying cleaning solutions.
Maintaining Your Pressure Washer
Maintaining your pressure washer is crucial to ensure its longevity and efficiency. A well-maintained machine can save you time, money, and the frustration of unexpected breakdowns. Here are essential maintenance tips to keep your pressure washer running smoothly:
Regular Inspection and Cleaning
After each use, inspect your pressure washer for any signs of wear or damage. Look for leaks, check the hoses for any kinks or cracks, and ensure all connections are secure. Cleaning the machine and its components, such as the nozzle and spray gun, helps prevent the buildup of dirt and debris, which can clog the system and reduce performance.
Change the Oil Regularly
If you have a gas-powered pressure washer, changing the engine oil according to the manufacturer’s recommendations is crucial. Fresh oil ensures the engine runs smoothly and extends its lifespan. For those with an electric model, it’s still important to check the pump oil level and quality, changing it as needed.
Winterize Your Pressure Washer
If you live in a region where temperatures drop below freezing, winterizing your pressure washer is essential to prevent damage from freezing water inside the pump. After the last use of the season, run antifreeze through the system if recommended by the manufacturer, or ensure the machine is completely drained of water.
Store Properly
Proper storage of your pressure washer can prevent a lot of issues. Store the machine in a clean, dry place away from extreme temperatures. If possible, keep it covered to protect it from dust and debris. For gas models, if you’re not planning to use the machine for an extended period, consider draining the fuel or adding a stabilizer to the tank to prevent fuel degradation.
Check and Replace the Air Filter
A clean air filter is essential for the engine’s performance and longevity, especially in gas-powered models. Check the air filter regularly and clean or replace it as necessary. This prevents dust, dirt, and debris from entering the engine and causing damage.
Regular Hose Maintenance
The hose is one of the most critical components of your pressure washer, as it handles high-pressure water flow. Regularly inspect the hose for any signs of wear, such as cuts, leaks, or bulging areas. Replace the hose immediately if any damage is found to prevent accidents and ensure optimal performance.
Schedule Professional Servicing
Even with regular maintenance, having your pressure washer professionally serviced once a year can help catch issues you may not be equipped to identify. A professional can perform a comprehensive check-up, including the pump, engine, and all working parts, to ensure your machine operates safely and efficiently.
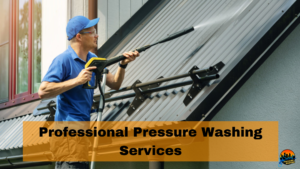
When to Call a Professional
While taking on a DIY pressure washing project can be rewarding and cost-effective, there are scenarios where enlisting the help of a professional is not only advisable but necessary. Understanding when to call in the experts can save you time, prevent damage to your property, and ensure your safety. Here are some instances when seeking professional assistance is the best course of action:
Complex or Delicate Surfaces
Certain surfaces around your home require a delicate touch that only professional-grade equipment and expertise can provide. If you’re dealing with fragile materials like soft stone, aged brick, or historic facades, a professional can adjust the pressure and cleaning solutions precisely to prevent damage.
High and Hard-to-Reach Areas
DIY pressure washing has its limits, especially when it comes to high or difficult-to-access areas such as second-story exteriors, roofs, and gutters. Professionals have the necessary equipment and safety gear to efficiently and safely clean these areas, reducing the risk of injury from falls.
Stubborn Stains and Build-up
Over time, some surfaces can accumulate stubborn stains, mold, or algae that are tough to remove without the right equipment and cleaning agents. Professionals have access to commercial-grade cleaners and the expertise to tackle these challenging issues without harming the surface underneath.
Time and Cost Efficiency
While DIY projects can save money, they also require a significant investment of your time and energy. If you’re facing a large-scale cleaning project, the efficiency of a professional service might outweigh the cost savings of doing it yourself. Professionals can complete the job in a fraction of the time it would take a non-expert, freeing you to focus on other tasks or simply enjoy your clean home.
Environmental Regulations
In some areas, there are strict regulations regarding the use of water and the disposal of runoff, especially when cleaning solutions are involved. Professionals are knowledgeable about these regulations and have the necessary equipment to comply with them, ensuring that your project does not unintentionally harm the environment or result in fines.
Making the Decision
Before deciding whether to proceed with a DIY approach or call a professional, assess the scope of your project, the surfaces you’ll be cleaning, and your own comfort level with the equipment. If the project seems overwhelming or if any of the above concerns apply, seeking professional services might be your best bet. Remember, the goal is not just to clean your home but to do so safely and effectively, preserving the beauty and integrity of your property for years to come.
Empowering Your DIY Journey: Concluding Thoughts on Pressure Washing Mastery
Mastering DIY pressure washing techniques not only enhances the curb appeal of your home but also preserves its value by keeping surfaces clean and well-maintained. From understanding the basics of pressure washing equipment to selecting the appropriate cleaning solutions and mastering the techniques for different surfaces, there’s much to consider for ensuring a successful and safe DIY project.
While DIY pressure washing can be immensely satisfying and cost-effective, recognizing when to call in a professional is equally important to avoid damage and ensure the longevity of your property. Remember to prioritize safety, follow the maintenance tips for your equipment, and avoid common mistakes. By applying the insights and techniques of Sunset Pressure Wash, you’re well on your way to revitalizing the exterior of your home with confidence and expertise.